
Installing wall mirrors through clunky clips and rusty nails are a thing of the past. With the advent of a unique adhesive that has been branded “mirror mastic,” mirrors can be installed elegantly on walls. However, the elegance afforded by mirror mastic does not come easily and without sizeable effort. It can be an arduous task if done without an assistant.
We have highlighted a step by step process so that gluing a wall mirror does not become problematic for you.
3-Mark the Area
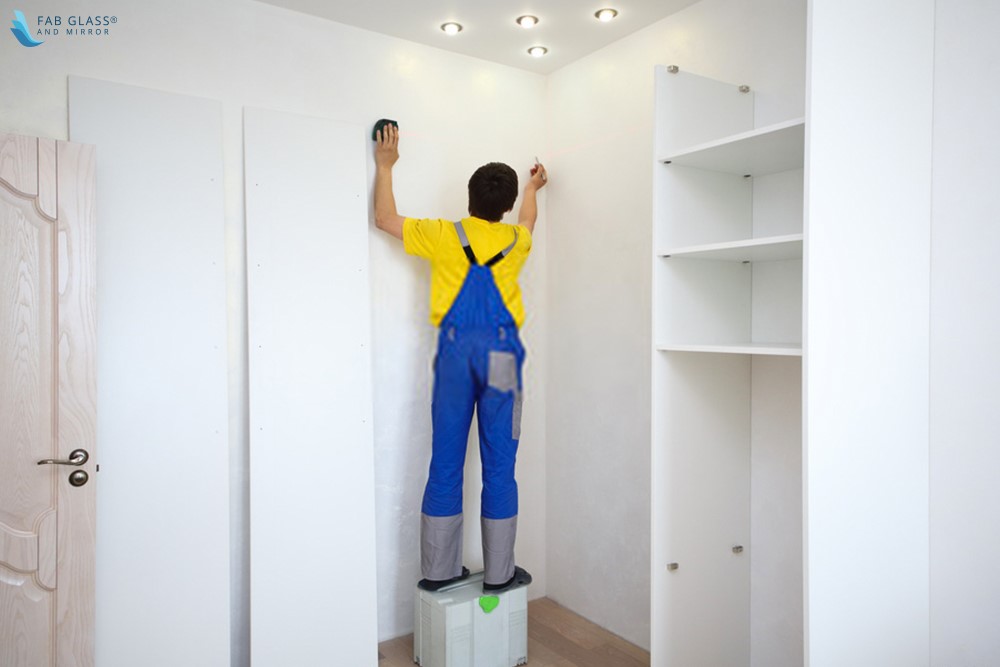
Begin by placing the mirror against the wall and marking the area where you wish to install the wall mirror. Make sure to use a non-permanent tool to mark the area so that you can clean it easily afterward.
2- Support Beams
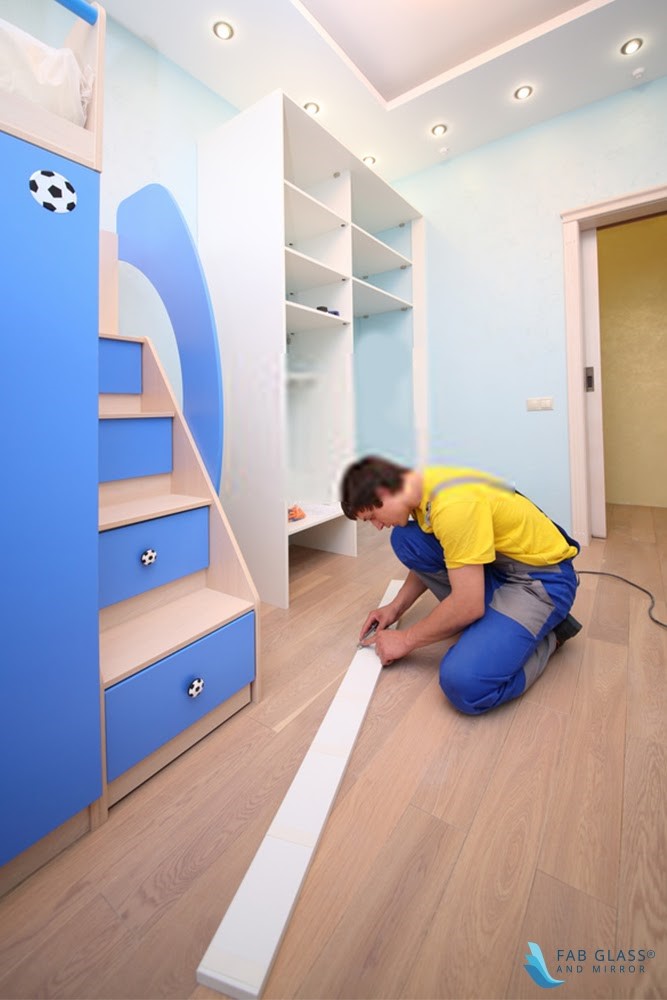
Thereafter, measure the length of the proposed mirror area from its bottom to the floor. You will need to do so in order to create two support beams. These support beams are necessary because you will need something to hold the mirror in place while the mastic dries. The glue takes time to dry and cannot support the mirror on its own while it does so.
Ideally, such support beams should be made out of inexpensive wood. You can swing by any home improvement or hardware store and pick up cheap pinewood for this purpose. You will obviously need an old fashioned saw as well. Two beams will have to be sawn. First, one beam will be placed from the floor to the mirror itself. Another beam will have to be placed along the bottom width of the mirror. Make sure to nail both beams together so that they do not move unnecessarily.
3- Mastic Glue
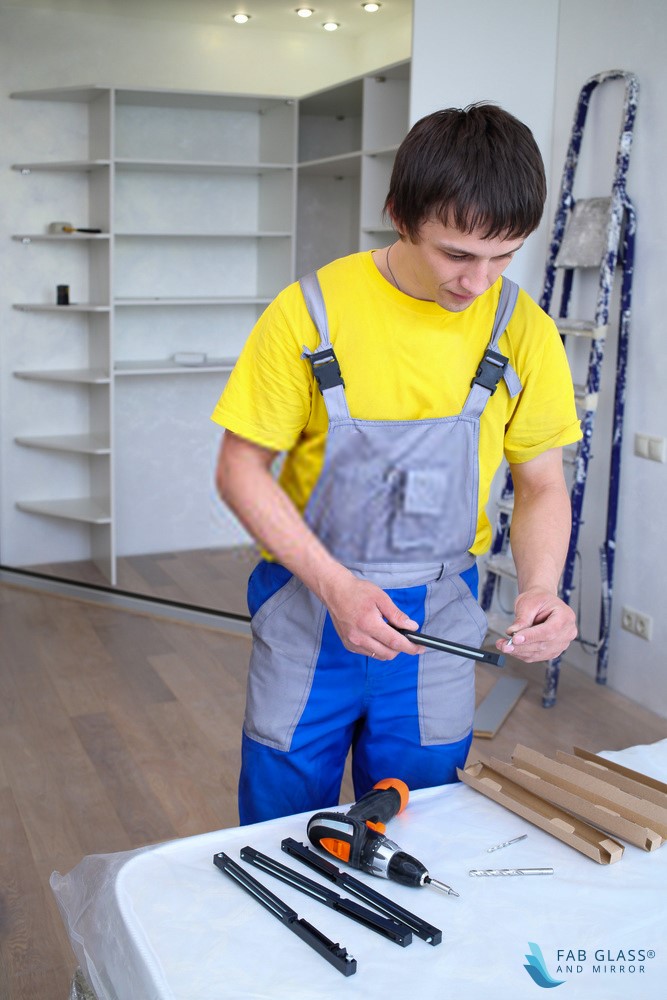
During your trip to the hardware store, you will also have to purchase a stick of mastic glue and a glue gun. Make sure to slit open one end of the glue stick before inserting it into the gun. Be careful to use a small and precise incision so as to not ruin the entire stick. Once safely inside, flip the mirror over. Place one small blob of glue on each of the four corners of the wall mirror.
Thereafter, make a crossed pattern of glue along the entire backside of the wall mirror. Make sure to make continuous lines of glue on the backside. A gap in the glue line can result in less than ideal results.
Thereafter, make a crossed pattern of glue along the entire backside of the wall mirror. Make sure to make continuous lines of glue on the backside. A gap in the glue line can result in less than ideal results.
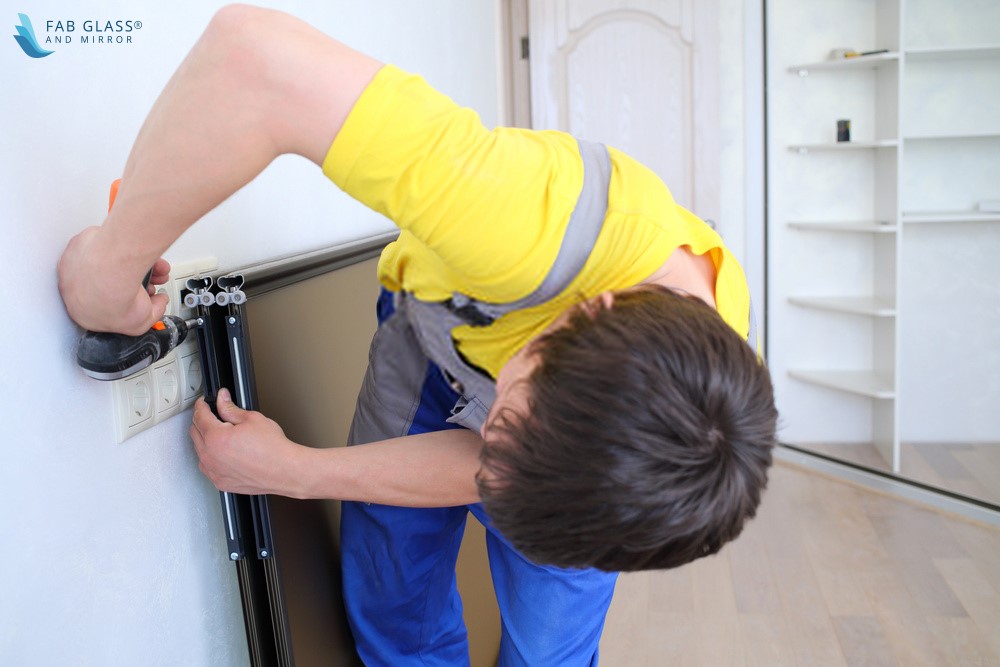
4- Installation process 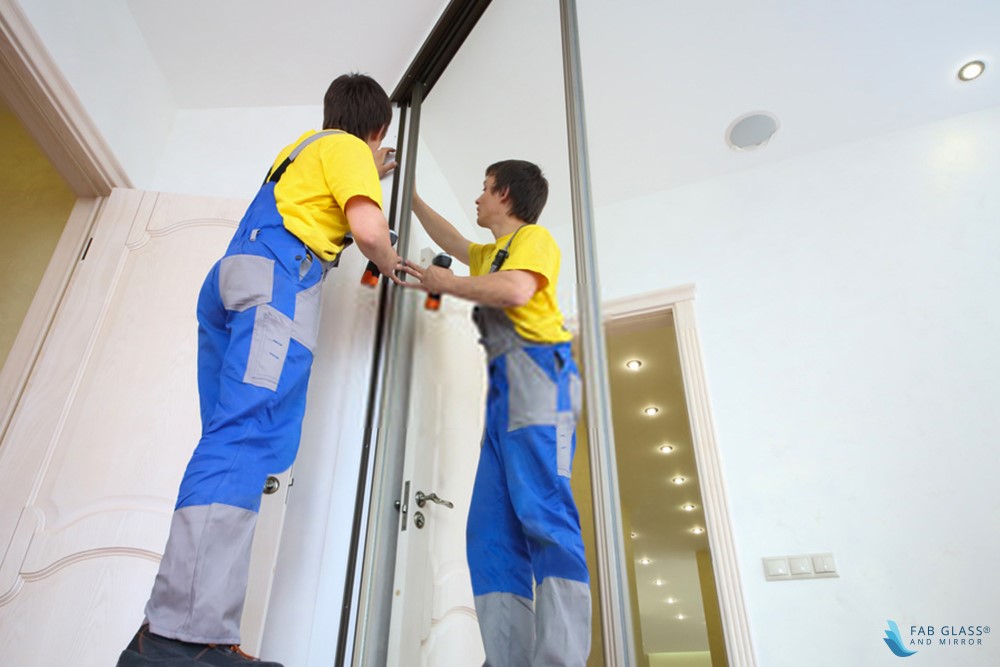
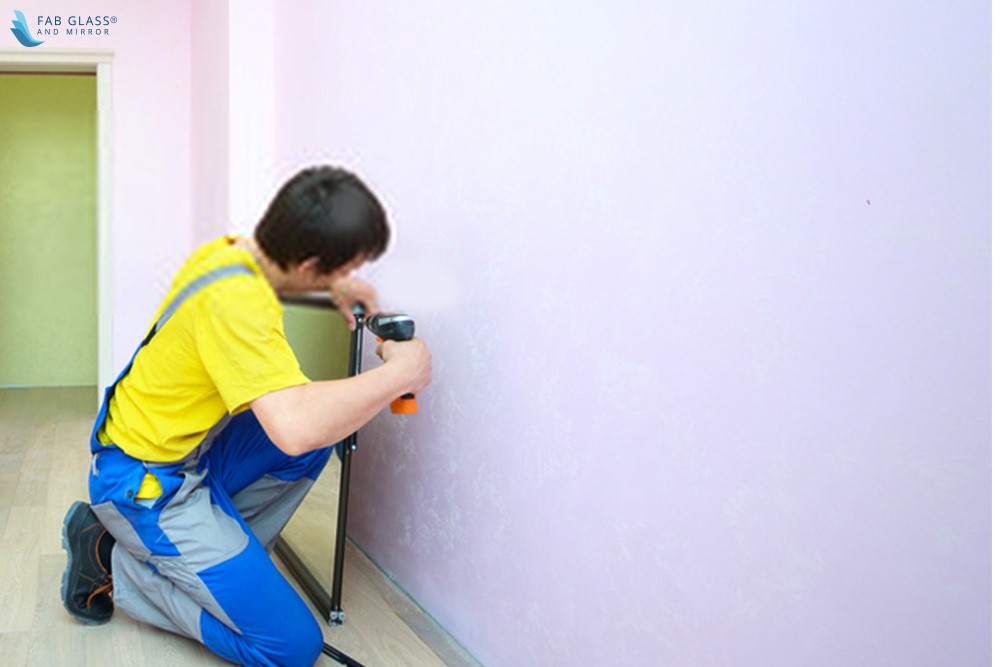
Place the support beam in position, just below the area where the wall mirror is to be installed.
Make sure to make full use of the marked lines we put in the first place. If you do not do so, you might install the mirror in a crooked and ugly manner. Once everything is in place, pick up the mirror and gently push the backside of the mirror against the wall.
Normally, you would be tempted to just use your hands to press the wall mirror into place. However, doing so would be erroneous. This is because your hands will exert an uneven amount of pressure. Additionally, your fingers will also leave unruly smudge marks on the wall mirror.
In order to avoid both the above issues, we suggest using a simple alternative.
Take a clean towel and fold it quadruple times. After doing so, place the towel against the wall mirror and start exerting pressure from top to bottom. Then move the towel from left to right.
Finally, move the towel diagonally across the mirror. It is important to exert a balanced amount of force with your hands. Repeat the same process several times in order to ensure that the wall mirror sticks properly.
Be sure not to exert too much otherwise you might damage the mirror. A lack of adequate force will not allow the glue to settle as it should.
You should give the glue at least twenty four hours to settle. Therefore, keep the support beam in place for the entire duration.
5- What you should pay special attention to:
The wall itself is of primary importance when you are considering gluing a wall mirror. The wall can be any of the variety of surfaces available. It can be wooden, plaster, dry-wall so on and so forth. It is imperative that you keep the surface clean. Once you have ensured its cleanliness, proceed to apply a base coat. You may have to do some limited research in order to find a coat that suits your chosen mastic glue.
Conclusion
There are many ways to install a mirror on a wall. However, the one with the most elegant results is definitely mastic glue. Understandably, it is not a straightforward process. Regardless, it does not damage the surface of your wall. Conversely, nails and screwed clips put visible holes in your wall. Simply put, installing a wall mirror, no matter how heavy, with glue is most certainly worth the effort.


