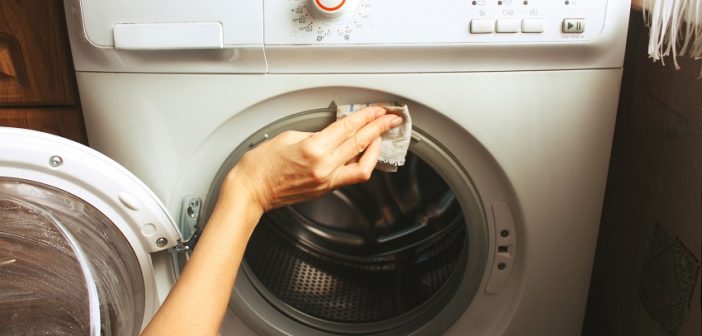
A dirty dryer vent is hazardous to a home. Mostly clogged dryers cause fires. Even if you do not feel the effects of dirty dryer vents immediately, they have costly results that end up wasting your hard-earned money and resources. That is why you need to do dryer vent cleaning ASAP.
There are a few ways you can identify whether your dryer is clogged or not. If you realize need to increase the need for polishing wet loads in your dryer more often than usual, then your dryer vent needs some serious dryer vent cleaning. Here are steps to follow according to Comfort Clean.
-
Locate Your Duct
You cannot work on something you don’t understand, right? So, the first step is to figure out where your ventilation system begins and ends. There is a 4-inch diameter exhaust at the back of many dryer units.
The ductwork inside the wall is connected by this exhaust through an aluminum elbow. These are the pipes hot air pass when getting outside your house to allow cooling. So, if this duct is blocked with debris and dust, it can overheat, which is how fires are caused in most homes.
-
Disconnect the Dryer Safely
Disconnecting the dryer is a simple task that you can do without needing specialized expertise. Unplug it from the source of power from the outlet. If your dryer’s vent pipe is fixed with metal tape or clamps, remove them to detach it from the exhaust.
Create more working space by removing the vent pipe from the wall duct. Do it gently to avoid causing damages.
If your dryer uses natural gas, be careful when disconnecting. When not done correctly, it can lead to gas leaks, which can be extremely dangerous. If you want to reposition the unit, do not disturb the gas line. However, if you are uncomfortable about disconnecting a gas dryer, stay safe, and seek professional help.
-
Clean, Clean, Clean
Once you are done disconnecting your dryer, you should be able to access its opening. The exit point is also easily accessible by removing its duct cover or duct flap. Get a dryer vent cleaning kit for your dryer from your local home improvement store. Often, the kit consists of several flexible segments so you can adjust to your desired length and a lint brush.
Join the segments together and insert your brush to the dryer vent. Working from the high end is easier than from the low end since gravity comes in handy.
Be careful on how you spin your brush to avoid unscrewing it while inside the duct. Push your brush to the deepest end for better vent cleaning. Repeat the process until you have no dirt particles coming out. If your segments are not long enough to reach the other end of your duct, you can buy an extra cleaning kit and combine the parts.
-
Tidy and Reconnect Everything
Collect the dirt from your duct using a broom and a dustpan or a vacuum cleaner. Make sure you collect everything so you don’t end messing your entire house with the dirt. When everything is clean, start putting everything back in place.
However, get rid of the soft foil if it’s what has been used to connect the dryer to the wall duct. Replace it with an aluminum elbow because those foils are prone to catching fire.
-
Do a Trial Run
Once you are done cleaning and reconnecting your dryer, check if it is functional. When done correctly, you will realize a significant difference in how your machine works before and after dryer vent cleaning. You also reduce the risk of catching fire in your home when your duct is not overloaded and overheating.
If you had asked a professional to help you disconnect your gas dryer, call them again to help in reconnecting so you do not end with leaking vents. You do not want your house to catch fire after completing a tedious process.
Cleaning your dryer vent is not a daily job. You only do it when its performance slows. So, when doing it, make sure you clean it thoroughly to avoid repeating the process after short periods. If you are not a DIYer, contact professional contractors to help you in vent cleaning to prevent serious damages.


I can only clean the outside but when it comes to inside, I think I need a help of a professional to avoid damages