
Now parents have become more flexible. They try to travel as far as possible and take their children on trips to show them all the delights of the world from a young age. However, before you go on a trip with a child, you need to prepare all the necessary documents.
One of the main documents is your child’s passport. Besides the fact that you need to collect all the necessary documents and make an appointment, you need to make sure that you take a photo of your child.
With older children, this is not a problem, because they perfectly understand the instructions of their parents. However, if we are talking about babies, then everything can be much more complicated. You can’t ask a baby to sit up straight and look at the camera.
To make a photo that will fit all the requirements, you need to use some tricks. Many prefer to go to photo labs, however, now it’s much more beneficial to know how to take baby passport photos at home.
We will share useful tips on this so as not to put your child under pressure. After everything is ready, you can safely print photos and prepare all the necessary documents.
Basic rules to follow
If you are a citizen of the United States of America, you must follow clear guidelines about what your child’s photograph should be.
Here’s what you need to remember:
- The image must be recent;
- It must be bright;
- You cannot use special effects;
- The background should be white, but it may be monophonic;
- No accessories;
- The child’s eyes must be open.
Tips and tricks you can take note of
Previously, all people had only one option – to go to various photo labs to take a photo that would meet all the criteria. However, today, there are special tools with which you can achieve what you need without leaving your home.
There is no need to put extra stress on your child as you can take photos at your home to make your child feel comfortable. The process may take some time. However, if you follow our advice, you will quickly do everything.
Helpful hints:
- Try to choose a day and time for the photo session when your child is in a good mood, so you can quickly take photos without any stress for both the child and the parents;
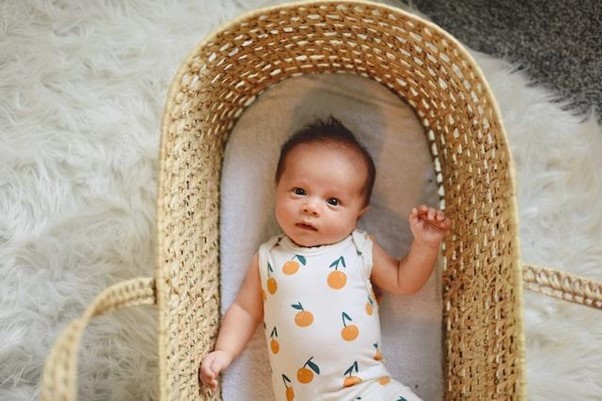
- If you have an infant, it is best to spread a white sheet on the bed and put the child on the bed. If you have a toddler, then you can spread a white sheet on a chair and sit your child down;
- If you will be taking pictures while your child is lying down, you can use a pillow to support his head. In this way, you will be able to ensure that your child looks straight;
- Try to take pictures when there is natural light in your home. If you are taking pictures in the evening, make sure to use enough lights so that the photos come out bright without any darkening. In addition, make sure that the light of the lamps does not fall into the child’s eyes, otherwise, he will close them or squint, and then the photos will be spoiled;
- Use your spouse’s help. While you are photographing, you can ask a second adult in the background to use toys or rattles to keep the child looking at the camera;
- Move away from the child at some distance so that your shadow does not fall on him. If the second adult will attract the attention of the child with toys, then also make sure that his shadow does not fall on the photographs;
- Take as many photos as possible. If you take just a couple of photos, then after you upload them to your computer, you can notice various defects. In this case, you will have to do everything again;
- Once you have a few good photos, it’s best to print multiple versions. This way, when you go to your appointment, if one of the photos is rejected, you can suggest other options and you won’t have to make an appointment for another day.
Conclusion
Taking a photo of an infant or toddler is not an easy task. You can take photos in a photo lab, but this can be stressful for a child. Instead, you can take photos at home in a familiar environment for the child. The above tips will help you take pictures that will meet all the criteria for a United States of America passport photo.


Nice tips and post! I will try. Duduwholesale.